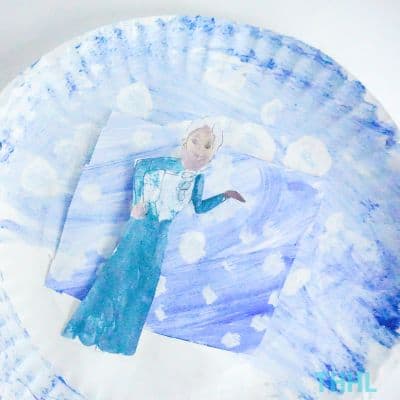
With Frozen 2 coming out this year, we are super excited to make paper plate crafts inspired by the movies. Elsa is the ice queen, after all, and this craft is perfect for an ice-themed playdate or to make in the winter.
How to make Queen Elsa Paper Plate Craft
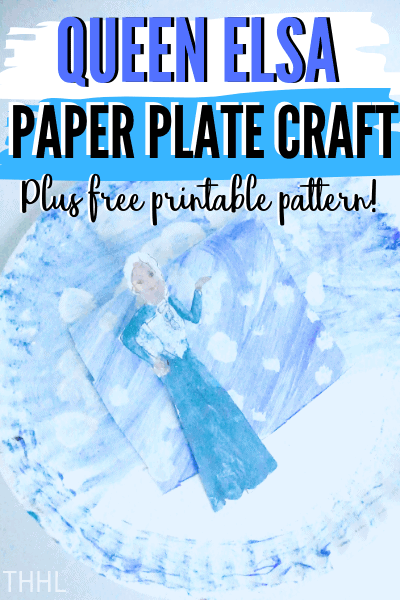
This Queen Elsa paper plate craft is easy to make and all you need to do is download the Queen Elsa printable and gather the supplies below.
What are the supplies needed to make Queen Elsa paper plate craft?
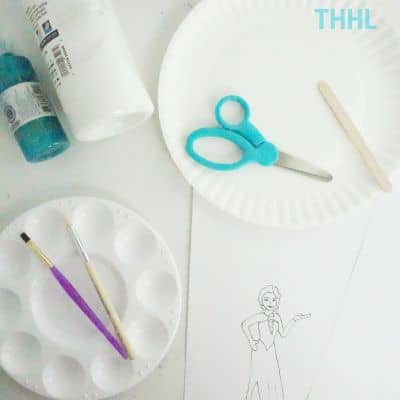
To make this Queen Elsa inspired paper craft you are going to need:
- Paper Plate
- Piece of Paper
- Free Printable Pattern
- Light Blue Craft Paint
- White Craft Paint
- Glitter Glue
- Popsicle Stick
For tools to make this paper plate craft you are going to need:
- Scissors
- Glue Stick
- Paintbrush
- Paint Pallet (a second paper plate)
Queen Elsa (Inspired) Paper Plate Craft
Now that you have gathered all of your supplies and tools it is time to start making this Disney inspired craft.
Let’s begin.
Instructions to Make Elsa Craft
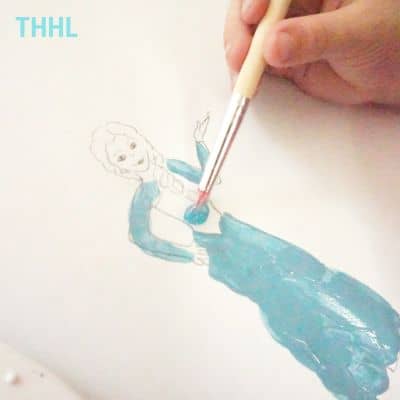
Paint Queen Elsa in any way desired. Allow paint to dry fully.
Paint long, painted scene of snowflakes falling on the piece of paper. Allow paint to dry fully.
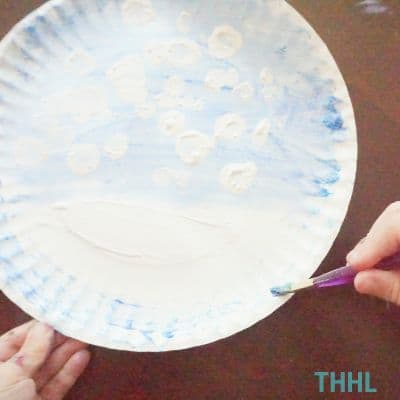
Paint a “frame” on the paper plate around the outer edge in light blue craft paint.
Paint a second “frame” inside the first with glitter glue.
Paint a scene on the center of the paper plate depicting the winter sky with white snow underneath.
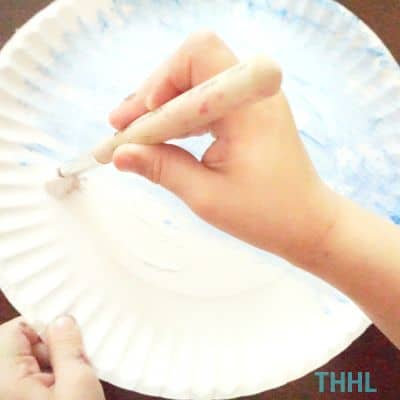
Add snowflakes by dotting the painted sky with white paint.
Allow paint to dry fully.
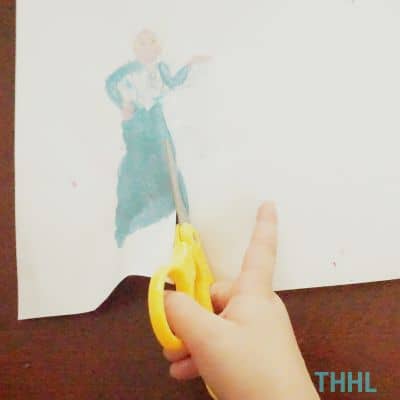
Cut out the painted Queen Elsa.

Cut your painted scene of snowflakes falling on the piece of paper to about 4-inches wide.
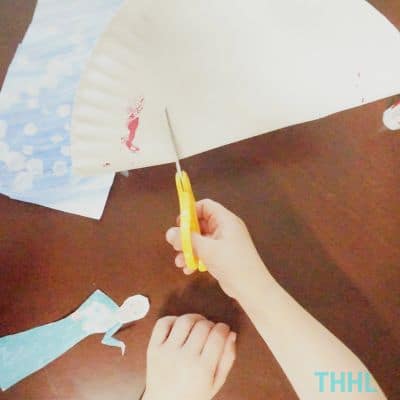
Fold over the paper plate horizontally (but do not crease) across the top and cut a wide about 4 ½-inches wide.
Repeat by folding over the paper plate horizontally (but do not crease) across the middle and cut a second wide slit about 4 ½-inches wide. You should now have two parallel wide slits about 4 ½-inches wide.
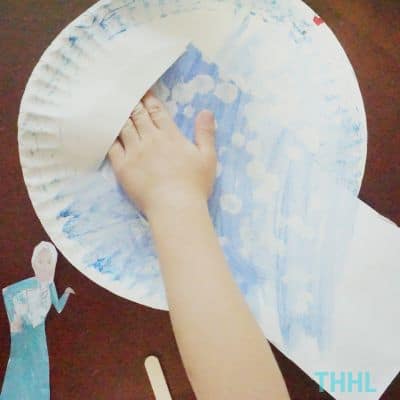
Slide the painted scene of snowflakes falling through both slits, face-up.
Turn the paper plate over.

With the glue stick, affix the two ends of the painted scene of snowflakes falling to each other, loosely.
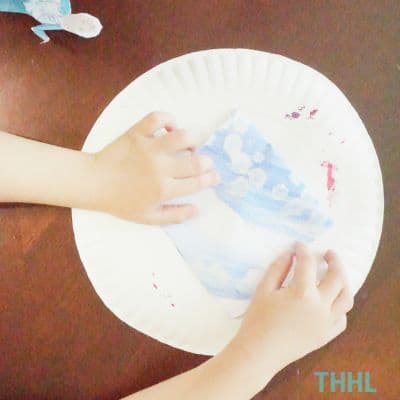
Turn the paper plate back over.
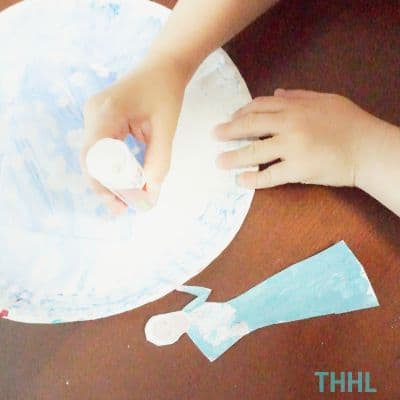
With the glue stick, affix Queen Elsa to the front of the paper plate on the bottom side of the lower wide slit, with the majority of her body overlapping the slit in the paper plate.
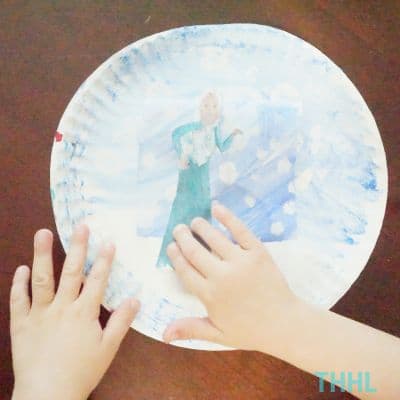
DO NOT GLUE the area above the cut slit, just the bottom.
Now the snowflakes can fall behind Queen Elsa!
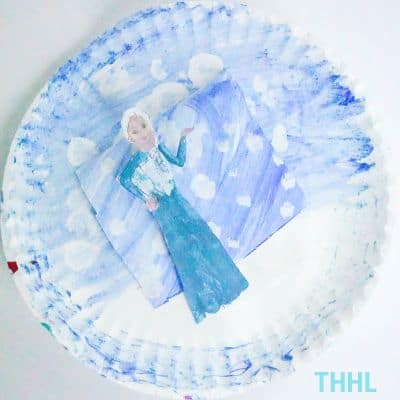
Queen Elsa Paper Plate Craft is complete!