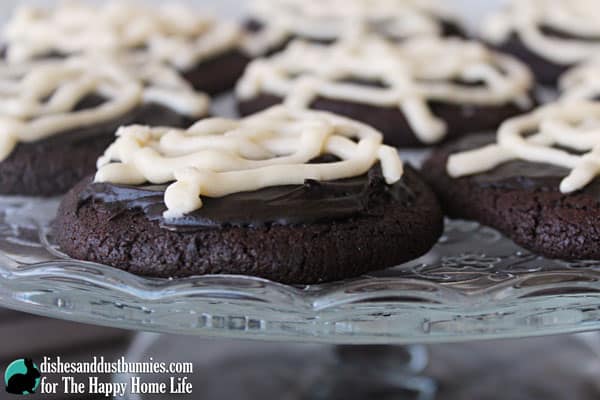
Forget the store-bought versions this Halloween, and try your hand at making these spooky yet delicious chocolate spider web cookies. They’ll be a hit with both kids and adults alike.
You only need a few simple ingredients you probably already have in your pantry, and they come together quickly. Plus, there’s no special equipment required – just a piping bag and some patience to pipe out the web design.

Can you freeze cookie dough and bake it later?
In general, you can freeze cookie dough and bake it later. It is a great way to have fresh cookies on hand for unexpected guests or last-minute dessert cravings. Scoop your dough onto a baking sheet, freeze for a few hours, then transfer the frozen dough balls to a freezer bag. When you’re ready to bake, preheat your oven and add a few minutes to the baking time. Fresh, homemade cookies are just minutes away!
You might enjoy these Halloween posts:
Does freezing cookie dough change the taste?
When it comes to cookie dough, there are two types of people: those who love it raw and those who prefer it cooked. But what happens when you freeze cookie dough? Does freezing cookie dough change the taste?
For raw cookie dough lovers, freezing the dough will change the texture slightly. Once frozen, the dough will be a little harder to bite into. But if you let it thaw for a few minutes before enjoying it, the taste will be just as good as if it were fresh.
Cooked cookie dough lovers might notice a slight difference in taste when frozen. The cookies might not be quite as soft and chewy once thawed. But if you’re looking for a quick and easy way to enjoy cookies without having to bake them first, freezing cookie dough is the way to go!
How to store the cookies?
To keep your spider web cookies fresh, store them in an airtight container at room temperature. If you’re not going to eat them immediately, you can freeze them for up to 3 months.
To thaw frozen spider web cookies, place them in the refrigerator overnight. Then, let them come to room temperature before enjoying.
What are the ingredients to make chocolate spider web cookies?
As Halloween nears, many people begin to think about what kind of spooky treats they can make. One popular option is this chocolate spider web cookie. But what are the ingredients necessary to make these ghoulishly good cookies?
For the cookie batter, you will need:
- All-purpose flour – It enables the cookie to have a crispy surface and a soft, slightly chewy center.
- Cocoa – For a rich, sweet, and chocolate flavor.
- Baking soda – helps leaven the mixture, resulting in a soft, fluffy cookie.
- Butter – It should be at room temperature and if you use unsalted butter, add salt to the dry ingredients.
- Sugar – It not only makes cookies sweeter but also browns them by caramelizing and makes them crisper by absorbing moisture from the dough.
- Eggs – We use eggs to give our cookies structure, leavening, color, and flavor.
- Vanilla – A flavor enhancer and a flavor balancer.
For the chocolate and vanilla frosting, you will need:
- Powdered sugar – Also known as confectioners sugar.
- Cocoa – Use this for the chocolate frosting only.
- Milk – This is to thin the frosting into a spreadable consistency.
- Butter – At room temperature
- Vanilla

How to make chocolate spider web cookies?
It’s time to put this recipe together now that you’ve gathered all of your ingredients.
- Starting with the cookie batter, preheat the oven to 350°F.
- Next, cream the butter and sugar together using an electric mixer. Add and mix in the vanilla. Combine the flour, baking soda, and cocoa in a separate basin. Add 1/4 teaspoon salt to this if you use unsalted butter. Combine with a whisk, then set aside.
- Meanwhile, beat the eggs into the creamed butter and sugar mixture. Then using a mixing spoon, pour the wet ingredients into the dry components.
- Form the dough into balls roughly the size of golf balls.
- On a cookie sheet covered with parchment paper, distribute six balls equally and bake for about 12 minutes. The next can be baked once the first six are finished.
- The cookie sheet should not be overcrowded to prevent the cookies from combining into one massive cookie. Having two cookie sheets on hand will allow you to prepare one while the others bake.
- Before transferring the cookies to a cooling rack, give them a few minutes to cool on the baking sheet. You can decorate once they have completely cooled.
- After that, the chocolate frosting should be microwaved for about 30 seconds while stirring in a small bowl. If it needs a little more heating, go ahead, but keep an eye on it because you don’t want it to burn.
- Spread roughly 1 1/2 tablespoons of the chocolate frosting onto each cookie. Each cookie’s frosting should be given time to cool.
- The vanilla frosting should be placed into a medium zip-top bag. Put the frosting bag in a microwave-safe bowl or plate for 30 seconds to rewarm it.
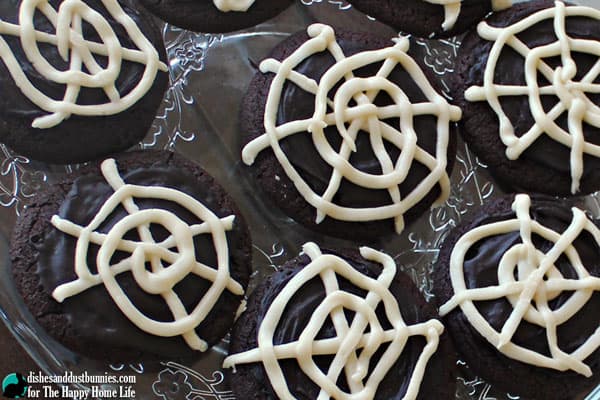
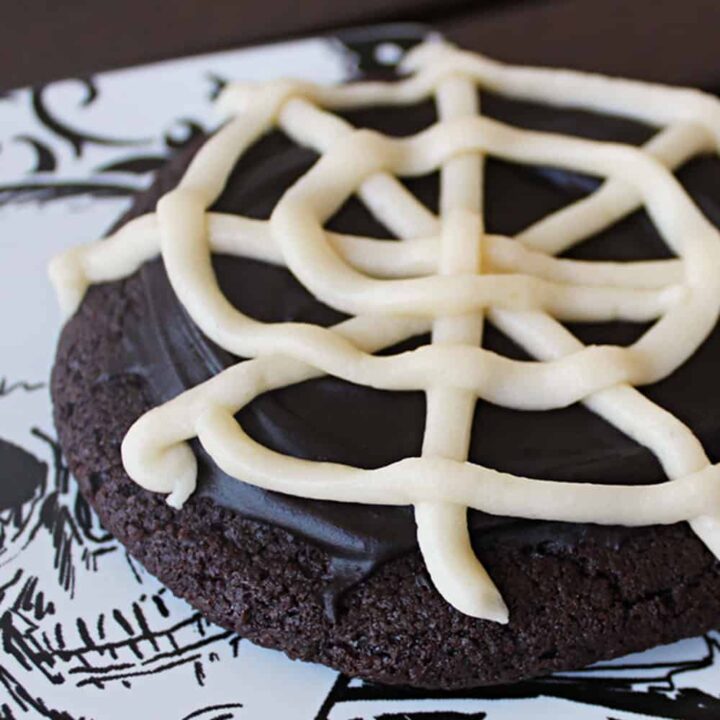
- Cut a VERY tiny hole at the tip of the cone-shaped bag to allow icing to escape. Start by cutting an X on top of the cookie, followed by another X to form the spider web shape. Then, on top of the Xs, create a spiral that extends from the cookie’s edge to its center. Observe the images for details.
- Lastly, in a big mixing bowl, combine all the ingredients for the chocolate frosting using an electric mixer. Once the ingredients are combined, slowly increase the speed from low to high. Also, do the same with the vanilla frosting.
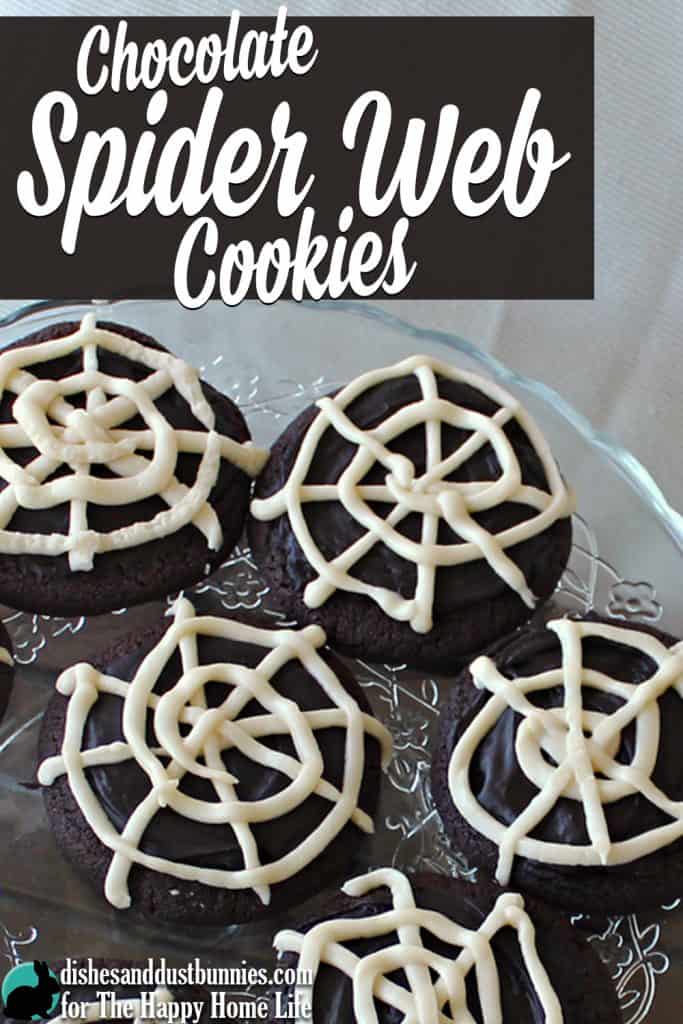
Chocolate Spider Web Halloween Cookies
Now that you know all you need to know about chocolate spider web cookies, it is time to print or save the recipe with the exact measurements.
Not ready to print? No problem! Save this pin in your Pinterest account by clicking the pin button located on the recipe card.
Halloween Chocolate Spider Web Cookies
Look no further than chocolate spider web cookies if you're looking for a festive and spooky treat to make this Halloween! This recipe is easy to follow, and the results are delicious. So get ready to impress your friends and family with these creepy-crawly cookies!
Ingredients
- Cookie batter ingredients:
- 2 1/2 cups all purpose flour
- 1 cup cocoa
- 1 1/4 tsp baking soda
- 1 1/4 cups butter (room temperature) – if you use unsalted butter, add 1/4 tsp of salt to the dry ingredients when you mix
- 2 1/4 cups sugar
- 3 eggs
- 2 1/2 tsp vanilla
- Chocolate Frosting Ingredients:
- 3 cups powdered sugar (aka confectioners sugar)
- 1 cup cocoa
- 1/2 cup butter, room temperature
- 1/4 cup + 1 tbsp milk
- 1 tap vanilla
- Vanilla Frosting Ingredients:
- 3 cups powdered sugar (aka confectioners sugar)
- 1/2 cup butter, room temperature
- 1 tbsp + 1 tsp milk
- 2 tsps vanilla
Instructions
Cookie batter Instructions:
- Pre-heat the oven to 350°F.
- Using an electric mixer, cream together the butter and sugar. Add the vanilla and combine.
- In a separate bowl combine the flour, baking soda and cocoa. If you used unsalted butter add 1/4 tsp salt to this. Use a whisk to combine and set aside.
- Into the creamed butter/sugar mixture, beat in the eggs.
- Pour the wet ingredients into the dry and combine using a mixing spoon.
- Form the dough into balls roughly the size of golf balls.
- Place 6 balls evenly spaced onto a parchment paper lined cookie sheet and bake for about 12 minutes. Once the first 6 are done, then the next can go into the oven.
- It’s important to avoid crowding the cookie sheet so that the cookies don’t all become 1 giant cookie. It’s a good idea to have 2 cookie sheets on hand so you can get one ready while the other ones bake.
- Allow the cookies to cool for a couple minutes on the cookie sheet before moving them to a cooling rack.
- Once cookies have cooled completely they can then be decorated.
- In a small bowl heat up the chocolate frosting for about 30 seconds in the microwave and give it a stir. If you need to heat it up a bit more that’s ok but keep your eye on it since you don’t want it to burn.
- Onto each cookie, spread about 1 1/2 tbsps of the chocolate frosting.
- Allow the frosting to cool on each cookie.
- Into a medium sized zip top bag, spoon in the vanilla frosting. Place the bag in a microwave safe dish or bowl and heat the frosting for 30 seconds to warm it up.
- Form the bag into a cone shape and cut a VERY small hole at the tip to allow the frosting to come out.
- To make the spider web shape start making an X on top of the cookie and then another X. Then make a spiral on top of the X’s moving from the edge of the cookie to the middle. See photos for reference.
Chocolate Frosting Instructions:
Combine all ingredients for chocolate frosting in a large mixing bowl using an electric mixer. Start on low speed and gradually move to a faster speed once the ingredients begin to combine
Vanilla Frosting Instructions:
Combine all ingredients for vanilla frosting in a large mixing bowl using an electric mixer. Start on low speed and gradually move to a faster speed once the ingredients begin to combine.
Nutrition Information:
Yield:
12Serving Size:
1Amount Per Serving: Calories: 886Total Fat: 40gSaturated Fat: 23gTrans Fat: 1gUnsaturated Fat: 13gCholesterol: 141mgSodium: 494mgCarbohydrates: 127gFiber: 3gSugar: 96gProtein: 8g
These nutritional calculations might not be accurate. Please speak with a licensed nutritionist to assist you.
If you enjoy this recipe, you can also find more great dessert ideas from Dishes and Dust Bunnies by clicking this link!