Let’s talk winter squash freezing tips! Let’s go! With winter squash season in full swing, it’s the perfect time to stock up on this versatile and nutritious vegetable. But what do you do with all those extra squashes? The answer is simple: freeze them! Freezing winter squash is a great way to preserve its delicious flavor and texture for months to come.
In this blog post, we will guide you through the process of how to freeze winter squash, as well as provide some helpful winter squash freezing tips to ensure your squash stays fresh and tasty. Let’s get started!
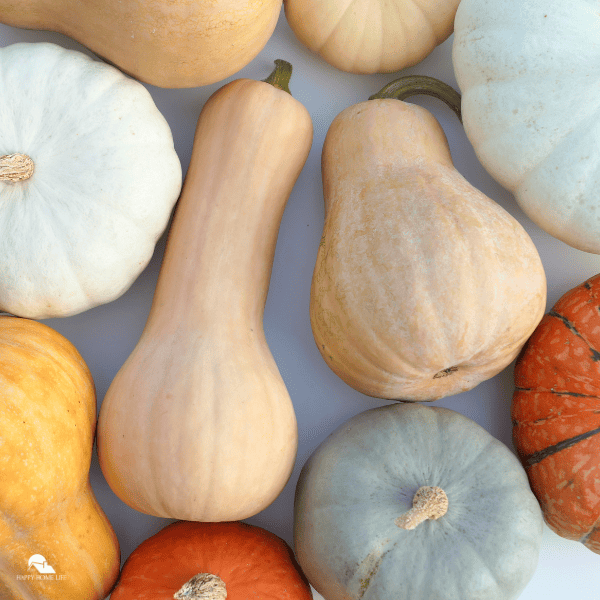
Winter Squash Varieties
Winter squash comes in various shapes, sizes, and colors, each with its unique flavor and texture. Some popular winter squash varieties include butternut, acorn, spaghetti, delicata, and kabocha squash.
Butternut squash, with its smooth skin and sweet, nutty flavor, is one of the most versatile varieties and can be used in a variety of recipes.
Acorn squash has a slightly milder flavor and pairs well with both sweet and savory ingredients.
Spaghetti squash, as its name suggests, has a stringy flesh that resembles spaghetti noodles when cooked, making it a popular low-carb alternative to pasta.
Delicata squash has a delicate, creamy texture and a mild, sweet flavor.
Lastly, kabocha squash, often referred to as Japanese pumpkin, has a dense, sweet flesh that is perfect for roasting or pureeing.
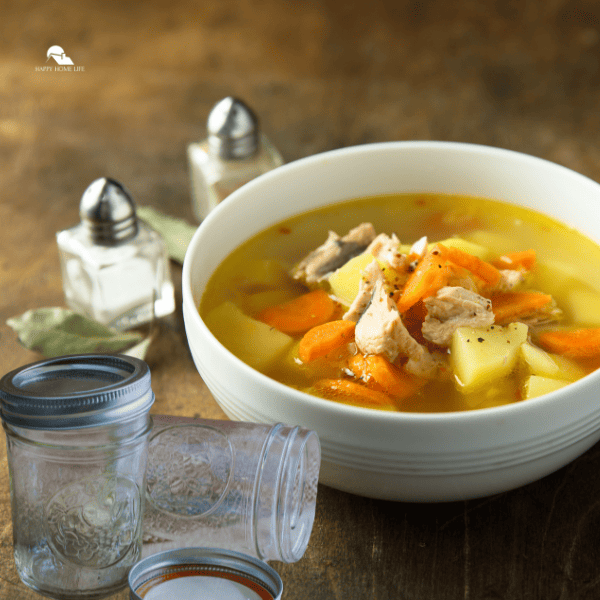
All of these varieties can be successfully frozen and stored for later use, allowing you to enjoy the taste of winter squash long after the season has ended. Whether you’re looking to make soups, stews, casseroles, or even desserts, knowing how to freeze squash is a valuable skill that will ensure you always have this nutritious vegetable on hand.
Necessary Preparations before Freezing Winter Squash
Before you start freezing winter squash, there are a few necessary preparations to ensure your squash stays fresh and delicious.
First, you’ll need to select the right squash. Choose squash that is ripe and in good condition, with no soft spots or blemishes.
Next, wash the squash thoroughly to remove any dirt or debris.
Then, it’s time to decide how you want to prepare the squash for freezing. You can either cook it before freezing or freeze it raw.
If you choose to cook the squash first, there are various methods you can use, such as roasting, steaming, or boiling. Once the squash is cooked, allow it to cool completely before proceeding with the freezing process.
If you prefer to freeze the squash raw, simply peel, seed, and chop it into your desired size or shape. Place the raw squash in a freezer-safe container or bag, making sure to remove as much air as possible. Label the container with the date and contents before placing it in the freezer.
By following these necessary preparations, you’ll be on your way to freezing winter squash successfully.
Step-by-step Guide to Freeze Winter Squash Successfully
Now that you’ve prepared your winter squash for freezing, it’s time to go through the step-by-step process to ensure successful freezing. First, if you cooked the squash before freezing, make sure it has cooled completely. If you’re freezing raw squash, it’s already prepared and ready to go.
Next, transfer the squash into airtight freezer-safe containers or bags. If using bags, try to remove as much air as possible before sealing them. Label each container or bag with the date and contents so you can easily identify them later.
Now, it’s time to freeze the squash. Place the containers or bags in the coldest part of your freezer. If you’re stacking multiple containers or bags, make sure they are properly sealed and won’t spill or get crushed.
As a bonus tip, consider freezing the squash in smaller portions. This way, you can easily grab a smaller amount when you need it, without having to defrost the whole batch.
Remember, freezing can affect the texture of the squash, so be prepared for a slight change when you thaw it. However, the flavor will remain intact, allowing you to enjoy the taste of winter squash all year long.
By following these steps, you’ll know exactly how to freeze squash and be able to enjoy your delicious frozen squash whenever you desire. So go ahead and freeze that extra squash without hesitation!
Useful Tips for Storing Frozen Winter Squash
Once you’ve successfully frozen your winter squash, it’s important to know how to store it properly to maintain its quality and taste. Here are some useful tips for storing frozen winter squash:
- Temperature: Keep your frozen squash at a consistent temperature of 0°F or below. This will ensure that the squash stays frozen and safe to eat for an extended period.
- Freezer Bags or Containers: Store your frozen squash in airtight freezer bags or containers to prevent freezer burn and keep out any unwanted odors. Make sure to remove as much air as possible from the bags before sealing them to maintain the best quality.
- Labeling: Always label your containers or bags with the date and contents. This will make it easier to identify the squash later on and help you keep track of its freshness.
- Shelf Life: Frozen squash can typically be stored for 8-12 months. After this time, the quality may start to decline. It’s best to consume it within this time frame for the best taste and texture.
- Thawing: When you’re ready to use your frozen squash, thaw it in the refrigerator overnight or use the defrost setting on your microwave. Avoid thawing it at room temperature to prevent bacterial growth.
By following these useful tips, you can ensure that your frozen squash stays fresh and delicious for months to come. So go ahead and freeze that extra squash with confidence, knowing that you can enjoy its amazing flavors whenever you desire.